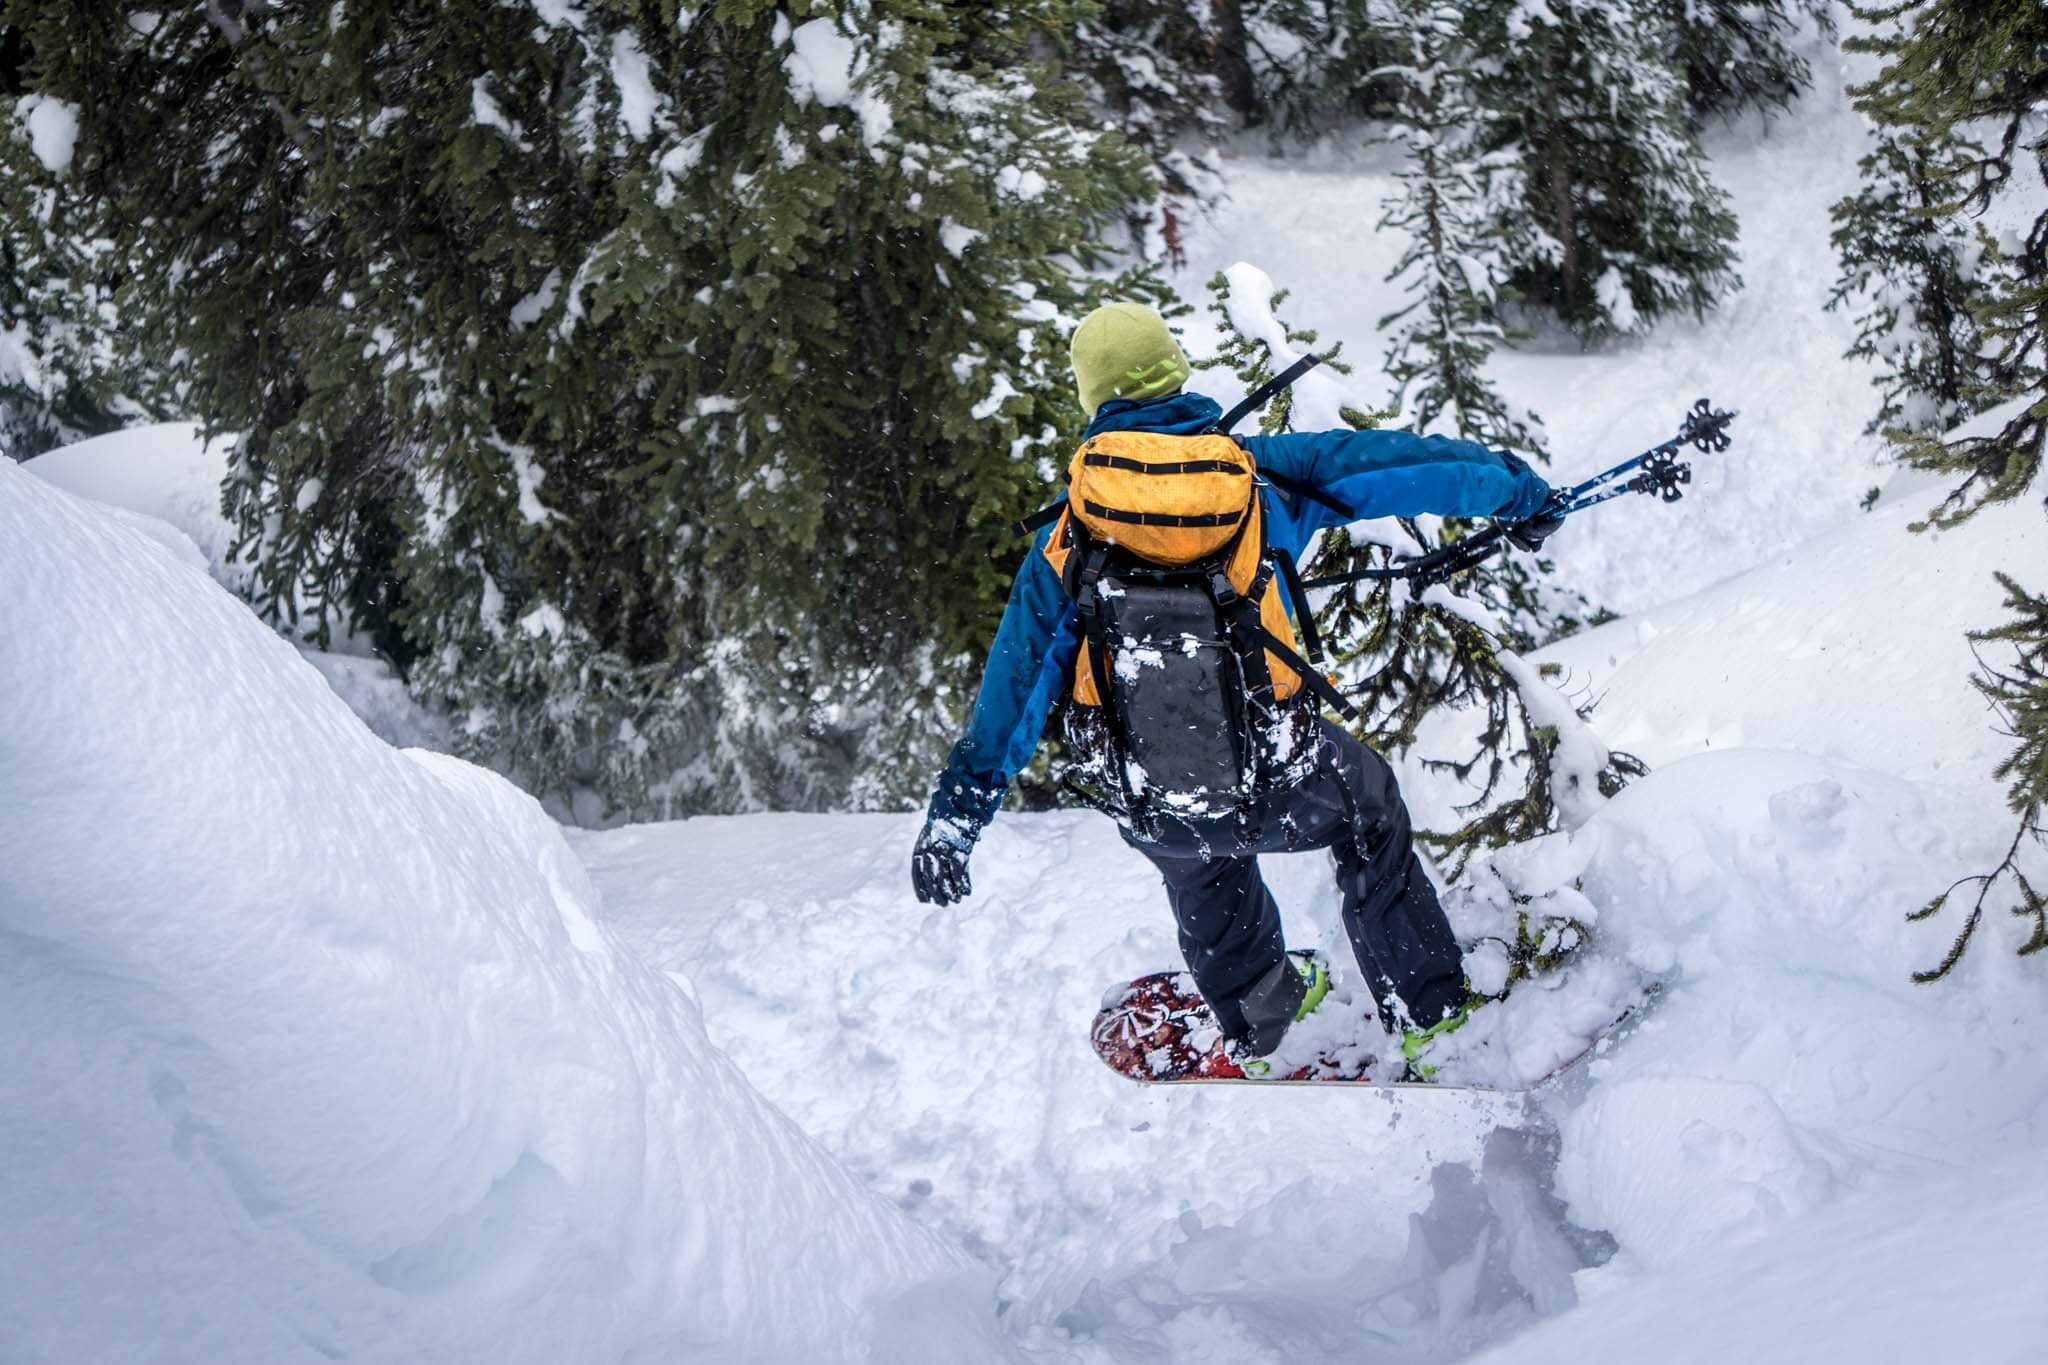
If you found this page, there is a good chance you are either looking at getting into the sport or at the very least have some questions regarding what it's all about. As one of Canada's leading splitboard specialty stores we are asked a lot of questions about this winter pastime.
As we receve more questions we will update this post, so please, don't hesitate toemail us with your splitboard related questions. Your information requests can be sent to info@aqoutdoors.com
SPLITBOARD FAQ'S
What is the point of splitboarding?
Splitboarding came about as a way for early snowboarders to access the backcountry in a more efficient manner than bootpacking, approach skis or snowshoes. The original setup was a DIY system where you cut your own resort board down and added a bunch of hardware to make it work.
Although ingenious it was heavy and the system was pretty clunky back then. (you can still get DIY kits from AQ Outdoors, check out the details here: Voile DIY Split Kit)
Modern splitboard systems have come a long way and provide a very effective and effificinet way for snowboarders to access the backcountry.
Can you ski on a splitboard?
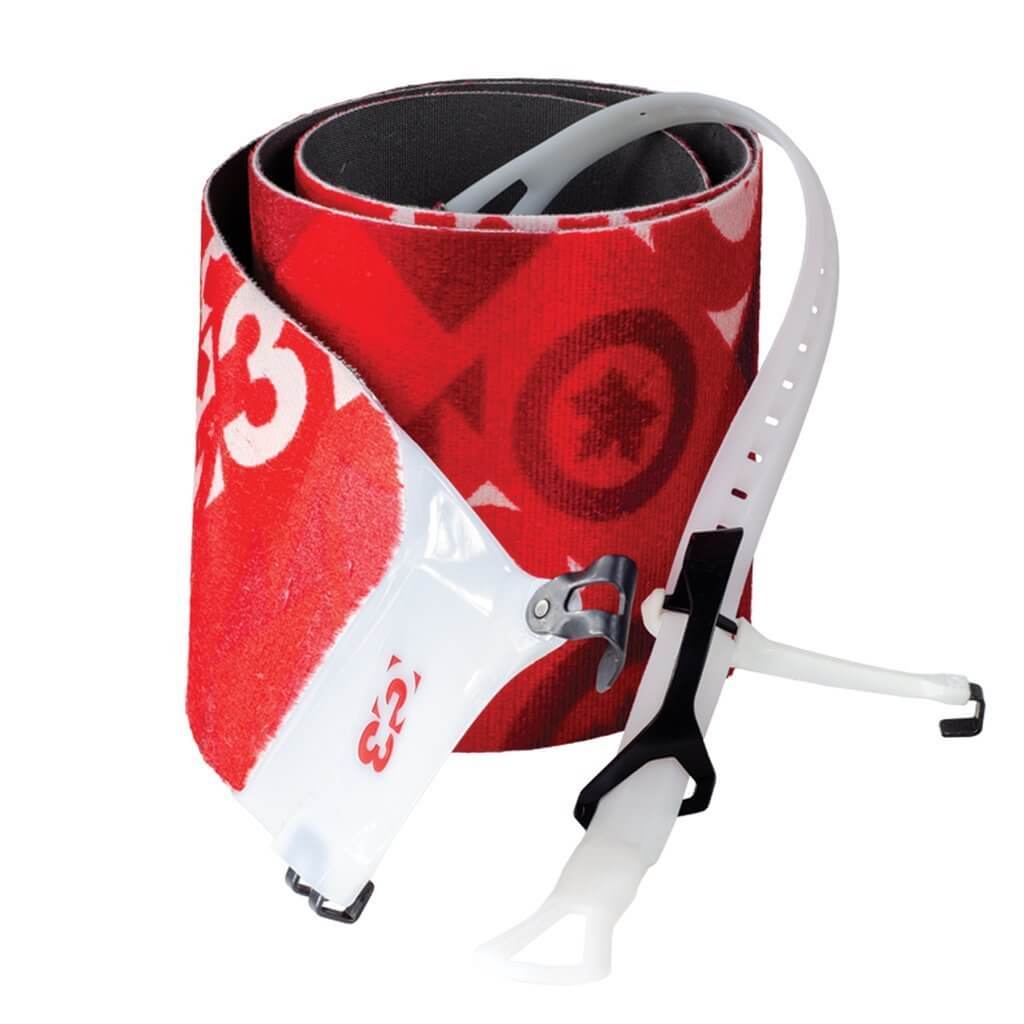
Heck yes! Splitboards are desgned primarily for being used for uphill skiing (with Spitboard skins), though they can certainly be used for skiing certain terrain on the downhill.
If you are an experienced skiier, or willing to put in some time learning to ski your split, you can ski some pretty descent terrain in split mode.
You do need to be aware that the binding systems on splitboards are not releasable (like skis). This increases the risk of knee and lower limb injuries if you crash. Also, unless you buy heel lockdowns for your binding setup you will be skiing with a 'free heel', this adds its own level of challenge.
How do I choose a splitboard size?
For snowboarders trying to figure out what splitboard size to choose, we try and and keep the equation pretty simple. In most circumstances if you take your resort board length (and assuming you are looking at a similar style splitboard), then add 3cms - 8cms of length to the board. You could, alternately add width to the board in place of length.
The extra length recommended in a splitboard is needed for 2 main things:
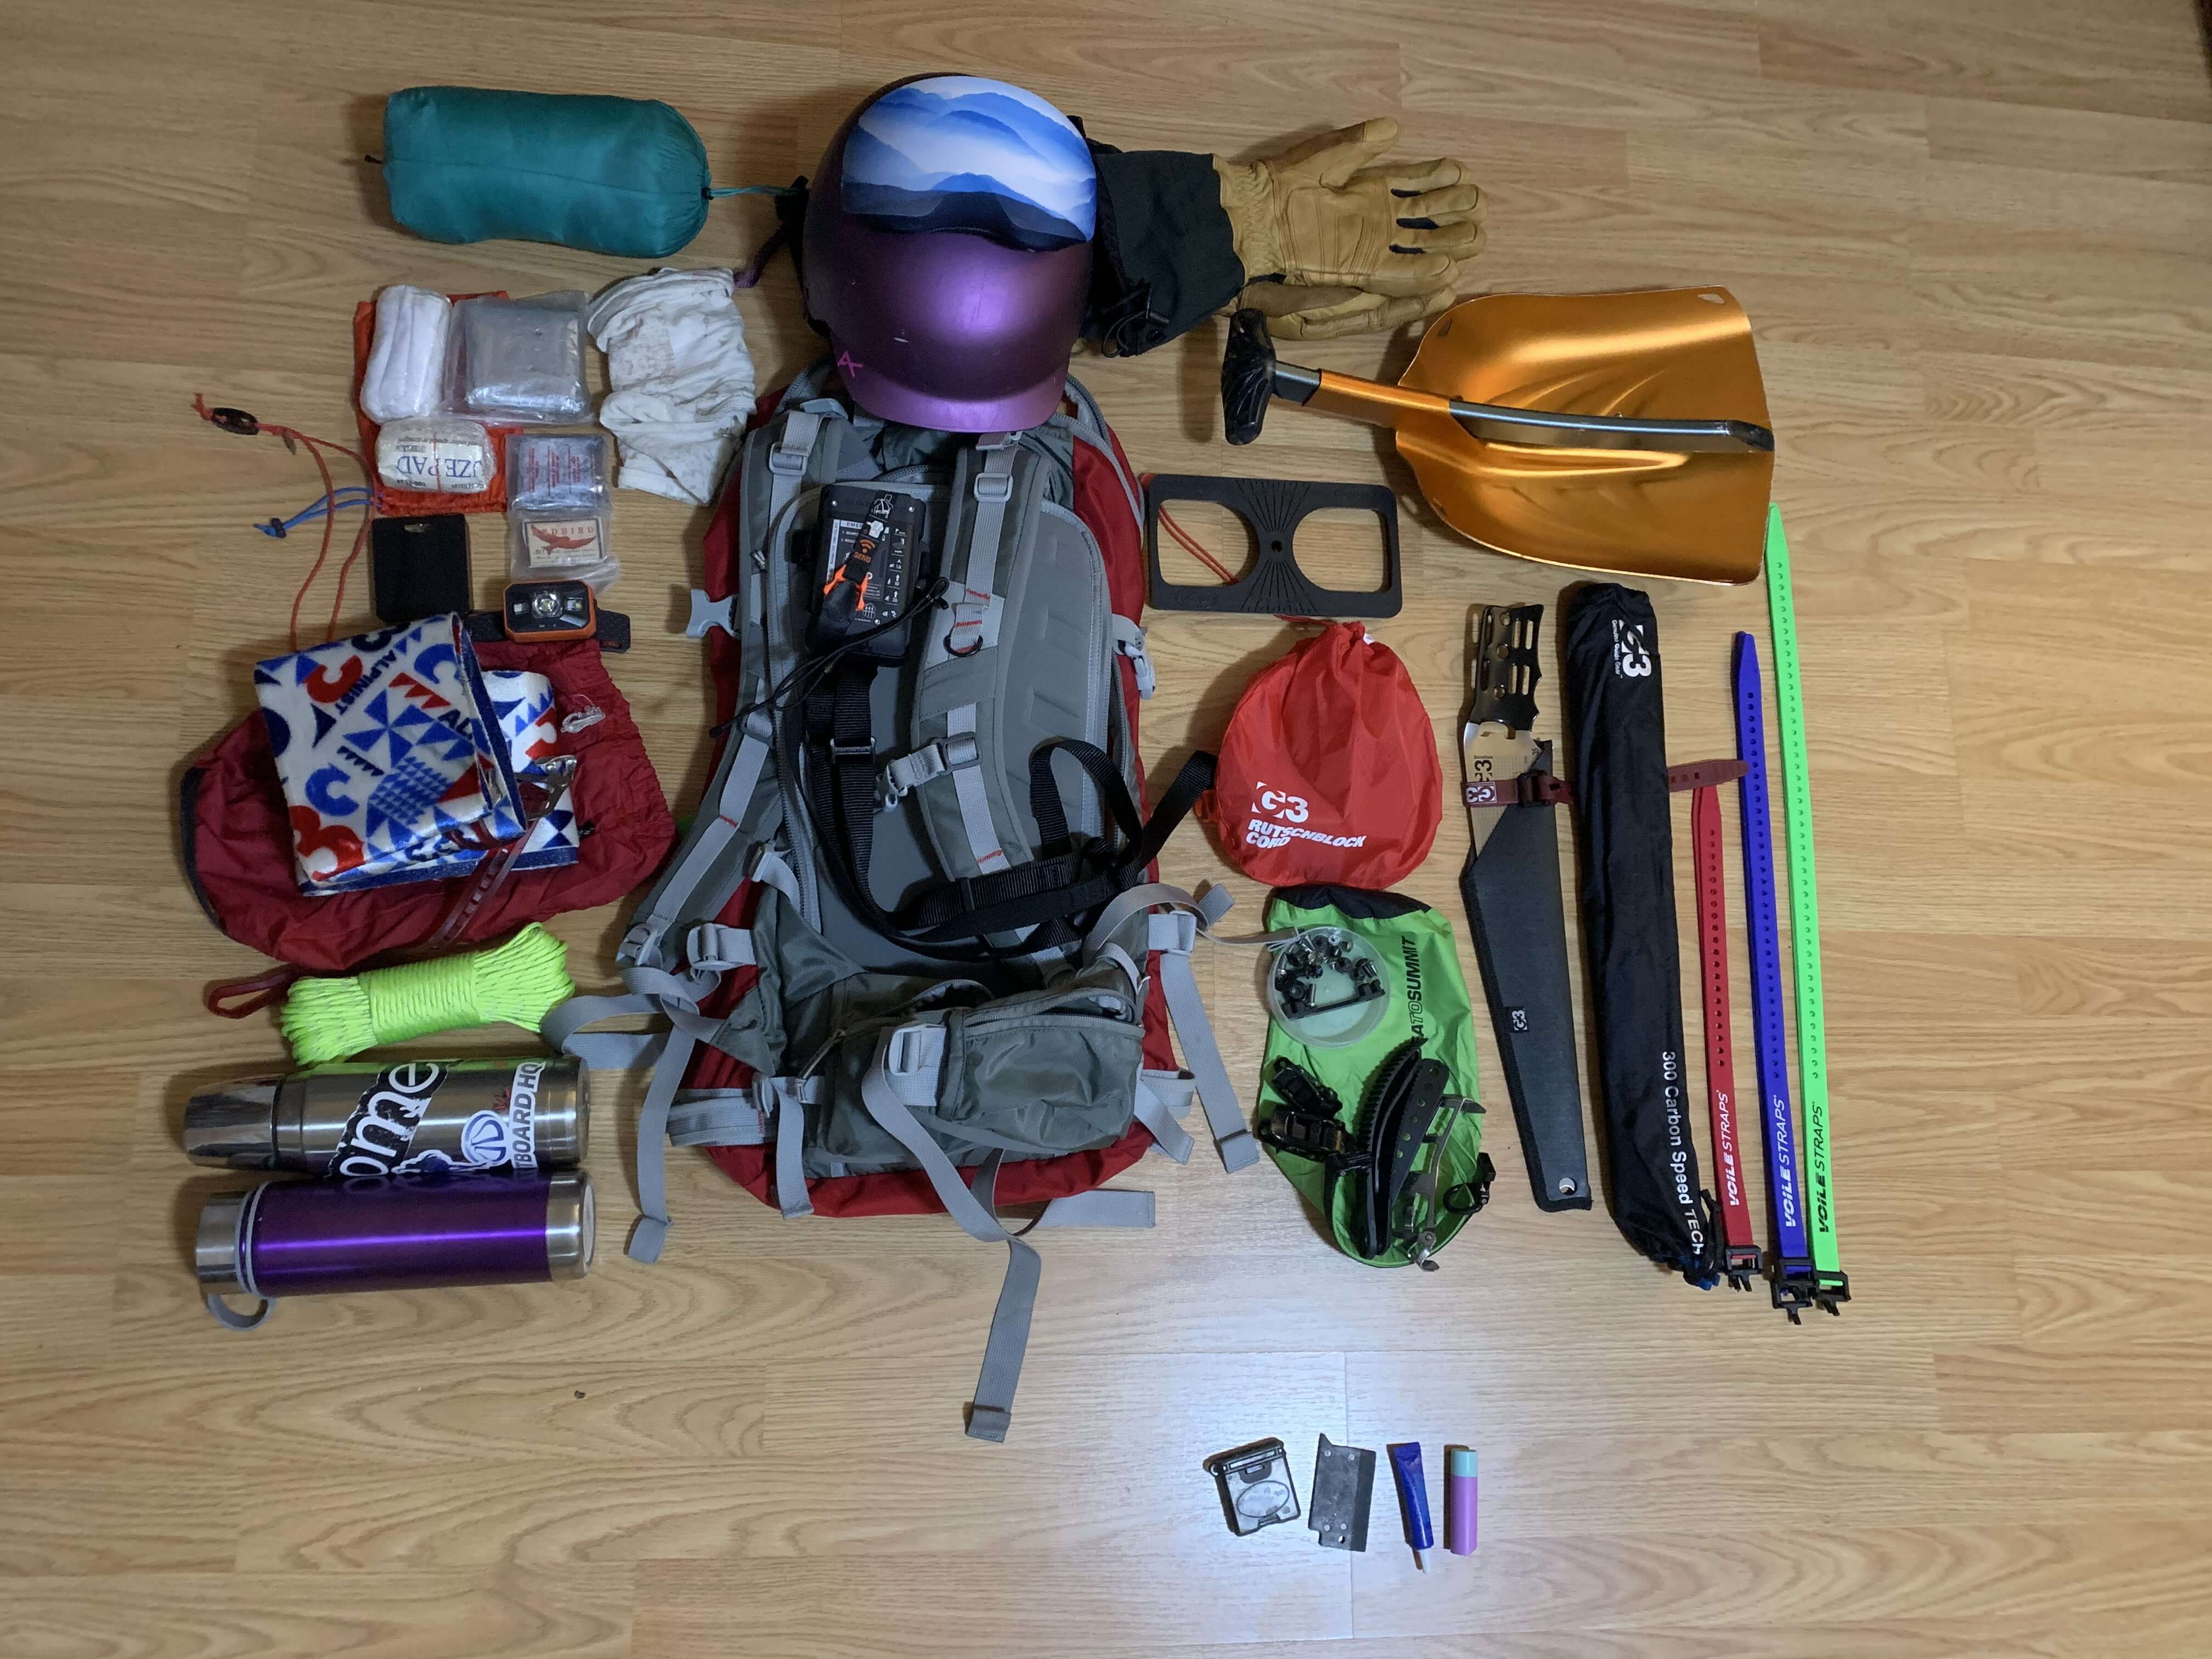
- Extra volume to take on the additional load of riding with a backpack full of 20 lbs of backcountry and emergency gear
- The extra length helps the board float in powder or facetted/rotten snowpacks.
Also consider what you want to use the spitboard for (primarily). Are you looking to do steep and deep tree runs, big traverses, ride steep couliors etc? This will also help determine the size (and style) of splitboard that suits you.
Especially for riders new to splitboarding, our simple recommendation s to look at a board similar to the style you love at the resort and add 3cms - 8cms in length to it. This is a great (and simple) start point.
Can you use regular bindings on a splitboard?
For the budget conscious splitboarder the answer is absolutley yes! There are a few things to consider however:
- To use regular snowboard idings on a splitboard you need to use Voile Slider Tracks. These along with the Voile Puck system and Touring bracket will have you able to use your regular snowboard bindings on a splitboard.
- This system, although economical does affect the splitboard experience negatively in a couple of ways:
- The slider tracks stay on the bindings when touring, creating a heavy system, and one with limited edge control in ski mode when traversing or in icy/wind blown snow.
- In ride mode, the slider tracks on top of the pucks have you riding very high above the board. It is quite an unusual feeling for snowboarders used to having bindings sitting more or less flush with thier board.


