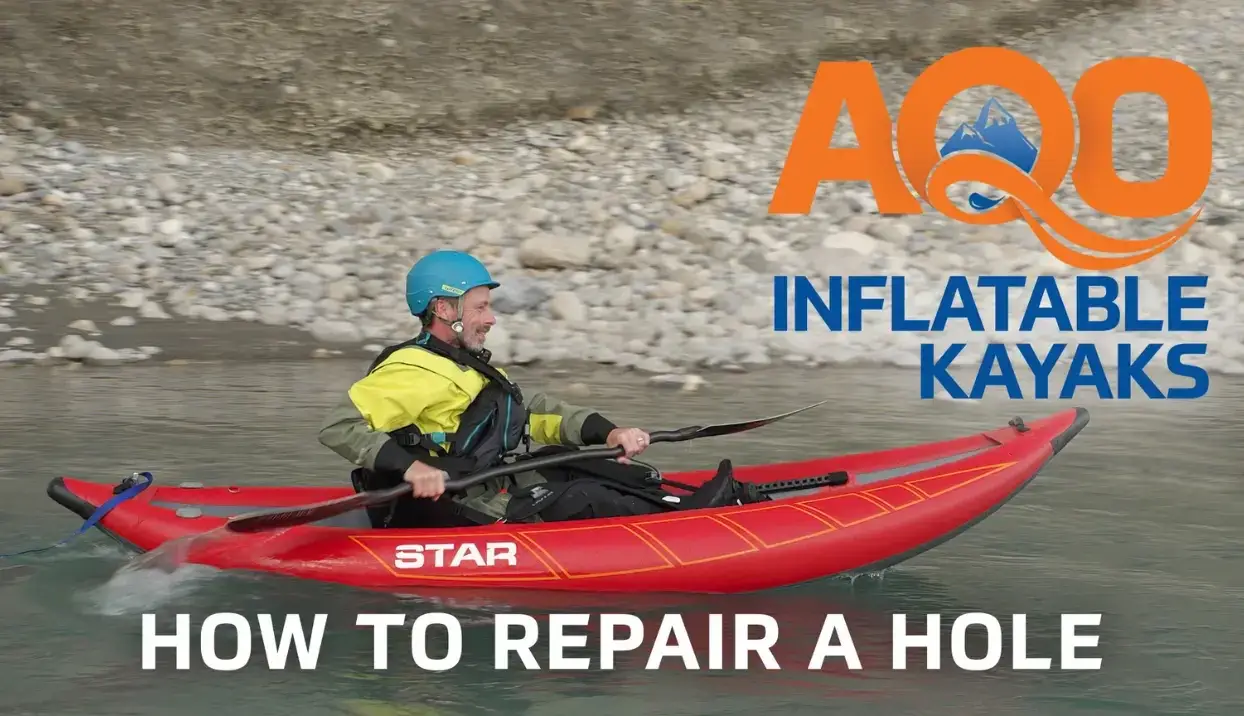
Is your inflatable kayak not holding air like it used it to? Do you think it has a leak (or maybe you already know it does because you can’t even pump it up…)?
In this quick 'n easy article and video we’ll go through the short, simple steps and show you how to repair a hole in an inflatable kayak. We carry everything you need for each step here at AQ Outdoors.
How to Repair an Inflatable Kayak
Inflatable Kayak Repair Supplies
Step 1: Identify Your Inflatable Kayak Material
You need to identify the material your kayak is made of so you can buy the right adhesive and the right patch material. Plenty of inflatable kayaks will actually come with repair kits. If not, you’ll have to figure out if the material is PVC, hypalon, nitrylon, or something else. You’ll need to get the right glue and patch for the type of material.
Step 2: Find the Leak
If the leak is obvious, then no problem – you already know where it is! Just mark it with a Sharpie to make extra sure you’re applying the glue and patch in the exact right place.
If you don't quite know where the leak in your inflatable kayak is, you can inflate the boat, take a wet soapy rag, and run it gently over the suspected area. Eventually you'll just see bubbles coming up out of the material. Follow the bubbles, that’s where you leak is.
Mark it with a Sharpie so you can move on to the next step.
Step 3: Clean the Area Around the Leak
Wipe the area around the leak in your inflatable kayak with a cleaning agent. Then, lightly sand it to create a rough surface so the glue and the patch will bond better.
Once that light sanding is done, clean it again so it gets rid of all the excess muck from the sanding.
Step 4: Cut the Patch to Size
The next piece is cutting the patch to size. If you've just got a small pinhole leak and a giant piece of material to repair it, that's a bit much...it’ll make handling the patch with the glue much more challenging.
For proper sizing, think about a bike tire patch – now double it. That's gonna be a good size for your patch.
Step 5: Apply the Glue and the Patch
Once everything is prepped and your patch is ready, apply the glue to the patch and to the kayak, following the glue manufacturer’s recommendations.
Put the patch over the hole.
Smooth all the air bubbles out of it and let the glue dry, as per the manufacturer's instructions. And that's it. That should do the trick for you and have you back on the water again!
If you need any assistance with any of these steps, whether it’s getting the right glue and patch, figuring out the material of your inflatable kayak, or anything else, then please feel free to reach out and contact us at the info below! Happy paddling.
Inflatable Kayak Repair Supplies
AQ Outdoors Contact
Edmonton: (p) 780 463-4892 (e) info@aquabaticsedmonton.com
Calgary: (p) 403 288-9283 (e) info@aqoutdoors.com