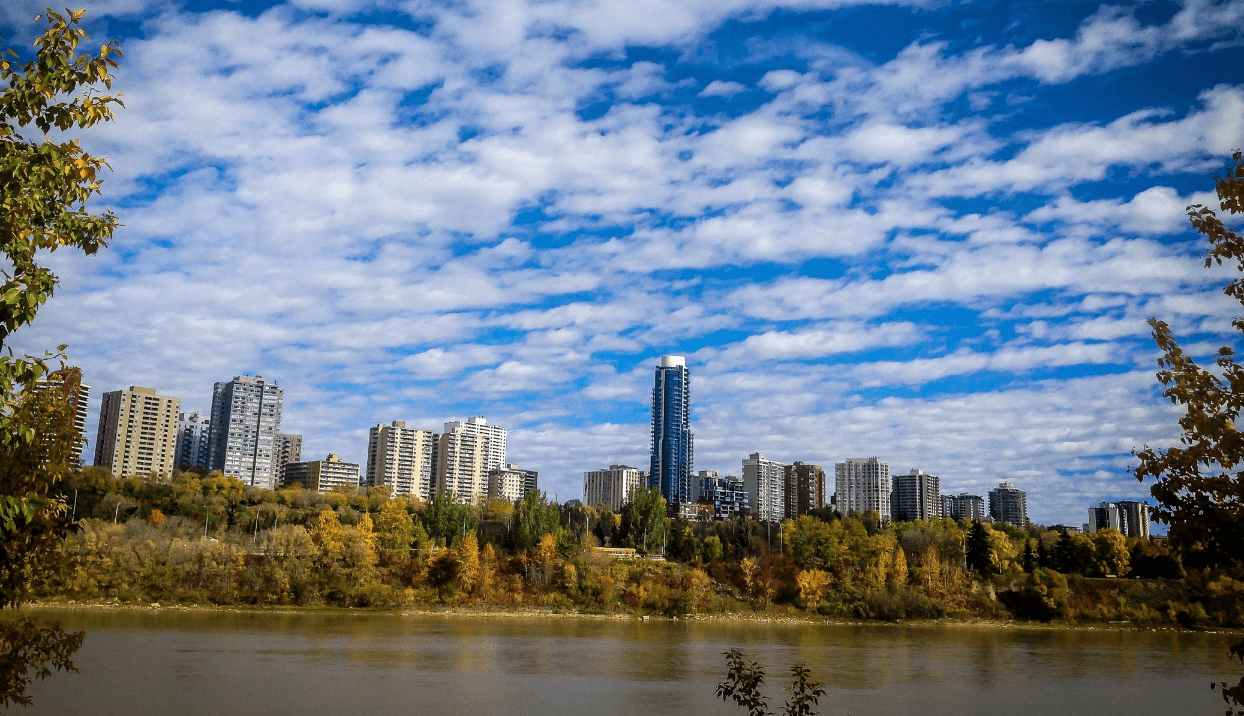
Harvie Passage is a whitewater park in the heart of Calgary, Alberta. It features a high flow channel on river left, and a low flow channel with slalom gates and smaller features on river right.
The left channel is typically for intermediate/advanced paddlers with some good play spots available at higher flows.
The right channel is more-beginner friendly with less water, closer shoreline, and much smaller features.
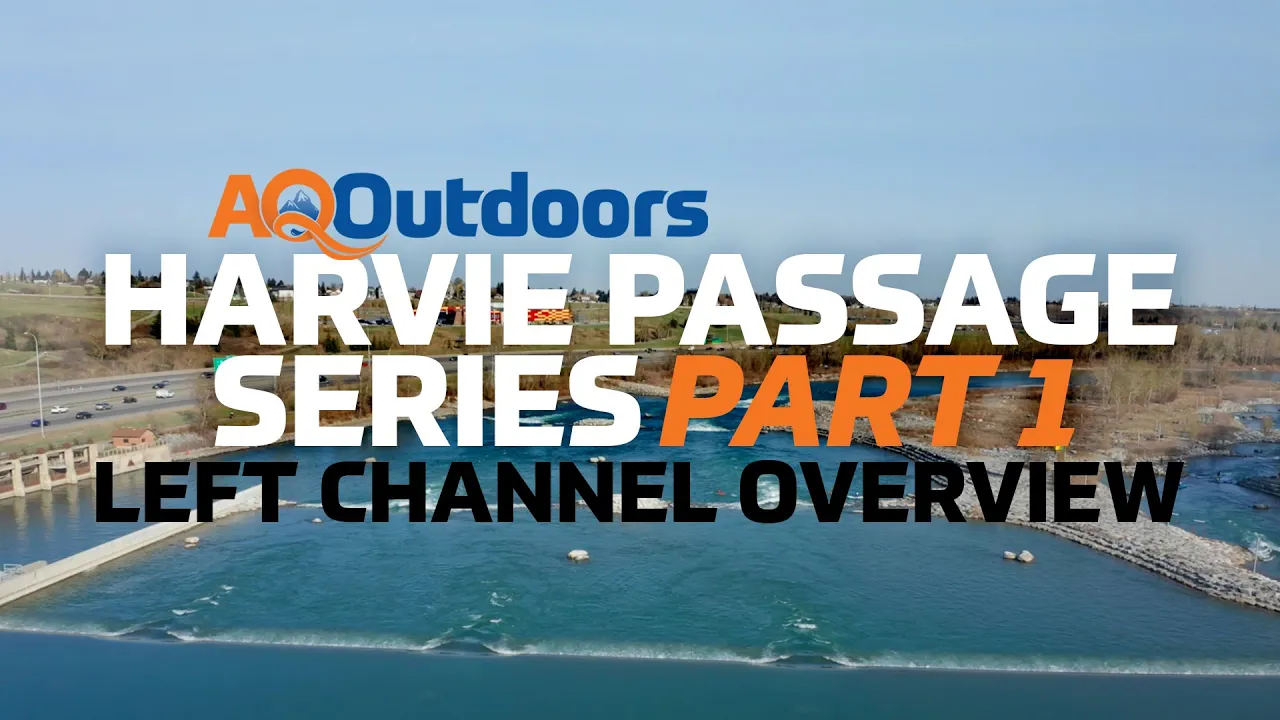
The following is a video series focusing on the left channel, walking you through everything you need to know when visiting this exciting outdoor park.
Harvie Passage Left Channel
Harvie Passage Left/High Flow Channel
The left high flow channel at Harvie Passage is suitable for well-equipped and experienced whitewater users. If you do not have river safety training knowledge or Class III whitewater skills, you are much better served using the safer and still super fun right low flow channel of Harvie Passage.
Harvie Passage Left Channel Drops
The features on the left high flow channel of Harvie Passage start at number 1: the Weir. There are small openings carved into this feature to allow for easier passage.
From here, the river splits around a small island in the middle of the channel, making 2 drops: 2R and 2L.
The river is again divided by a small mid-channel island. These drops are known as 3L and 3R. 3L is sadly a no-go zone due to it being extremely retentive.
3R is often referred to as Fight Club.
The river forms a big pool above the final drop – feature 4. Feature 4 is actually two features: Tatonka, which is the first river-wide wave; and the reactionary feature below it, White Buffalo.
Check out more in-depth info for each of these waves in the sections below.
Harvie Passage Water Levels and Flow Ranges
To assess the level of this channel, we need to use two gauges: the Bow at the city of Calgary, and the Elbow below the dam.
You can find flow rates and beta on the [Alberta Basins Map] and [Harvie Passage Left Channel on Paddling Maps]
Simply add these two together to get the accurate river flow at Harvie Passage.
Flow ranges for the left channel are pretty broad as it is a large section of river. I would consider 60 to 150 CMS to be on the low to medium side.
This flow is characterized by smaller though often more retentive features, less boils, and the pools between each feature move much more slowly.
150 to 250 CMS is definitely more in the medium to high range. The features start to get bigger looking and feeling, and they still have plenty of retentive feel to them. The pools wash through more quickly and the boils start to get juicier.
Harvie Passage Optimal Flow Ranges
Based on my experience, the very best optimal flow for experienced paddlers is anything in the 280 to 310 CMS range. This has all the features at the optimal level.
This would be considered a pretty high flow. Above 310 CMS or so the river is definitely getting to the point where city officials start issuing river use advisories and the left channel gets very big and very powerful. River debris and trees often become a problem and they're very hard to see at all.
Drop 2R and 2L
Drop 2R is often referred to as Gene Simmons due to it being a long tongue. 2L can vary quite a bit depending on a few factors like water levels and whether or not the bypass gates for the irrigation canal are open. These gates are on the east side of Harvey passage near Deerfoot Trail/Highway 2.
2R and 2L are the most mellow of the three main defined drops in Harvey Passage’s left channel.
The nature of both 2R and 2L at most water levels is a green tongue style ramp into waves, followed by some confused boily water. These boils tend to give the most grief to less confident paddlers.
The rapids themselves are pretty straightforward. A good strategy to avoid the boils is just run down the respective ramps across the current and straight into the huge eddies. The water above the drops is relatively slow. You can paddle pretty close to the edge without committing to the feature below.
This means you have lots of time to really line yourself up. The first drops are a good place to play around with how this feels in your boat and will give you a good feel for the larger rapids.
Drop 2R and 2L at Different Flows
At lower levels, 2R/Gene Simmons is basically a green tongue that flows into a small V- wave which is great for dynamic S turns, but not really enough power for proper surfing. As the levels go up, the foam pile increases in size and the feature becomes more retentive. As this happens, half slice boats and river sub boards are the best crafts for surfing. It becomes a fun low-angled wave that has a cool bigger-water feel to it more so than anything else in the immediate Calgary area.
In the rare case that the east side bypass gates are open, 2R becomes a brilliant 15ft-wide wave and the turbulent water below disappears which makes it perfect for surfing.
2L also changes at different levels. As it gets higher, it'll become more of a steep green wave that is surfable. However, the non-existent shoulders can make it difficult to get in from either side.
At lower levels you can surf the surfer's left shoulder but have to be careful of shallow boulders just downstream. Given that 2R and 2L are the warmup rapids in the high flow channel, it is key to note that with decent river rescue skills, there is still plenty of time to get swimmers and boats into the eddy before Fight Club(3R) or 3L.
But, if you get an unlucky bounce out of a boily whirlpool, corralling both swimmer and gear to shore may be challenging. Don't be afraid to use the midstream eddy as your rescue zone. We've seen lots of rescues not go smoothly because people committed to the riverbank eddy rather than the much bigger midstream eddy.
2R and 2L are spots to test your mettle in working in bigger water and higher flows. They can be a stepping stone in themselves as you don't have to commit to running the bigger features below.
Drop 3R – Fight Club
As the name Fight Club suggests, 3R is a play feature not for the faint of heart. It is a bit too advanced for beginner or even intermediate paddlers. The retentive nature, speed of the water and power of this feature make it pretty intimidating even for the most experienced paddlers.
Is is important to note that Fight Club actually becomes friendlier as the levels get up over 200 cms. Below this level, surfers left / the river right exit tongue is much harder to navigate to. In saying that, the higher flows really only improve the ability to exit the hole. The boils downstream certainly spice up as things get on the higher side.
If you are just river running the feature, starting left and running to the right eddy is the safest bet. Crosscurrent speed is your friend here. If that term is unfamiliar to you, check out our educational video [How to Run Rapids Using Cross Current Speed]
If all of this hasn't put you off, then Fight Club might well be a good time for you. An ultra-dynamic and retentive wave hole, Fight Club is for the advanced freestyle paddlers and offers up an amazing platform to pull off a full spectrum of freestyle moves.
To play in Fight Club with confidence, we would suggest you have a bombproof role in Class III+ and have a considerable amount of freestyle paddling experience and the ability to proactively move around in a dynamic hole feature. This ability to move around is critical as the only exit requires you to actively paddle to the surfer's left tongue.
Drop 3R at Different Flows
Below 200 cms the hole is very retentive and the surfer's left exit is hard to get to. It often feels like you're paddling uphill to get there. Above 200 cms, the tongue starts to get wider and slopes towards the exit, meaning that if you're upside down, there's a reasonable chance you'll wind up flushing.
As the levels rise, a reactionary wave will form behind Fight Club that is fun to surf and relatively friendly.
Drop 4 – Tatonka and White Buffalo
The fourth drop is where the entire left side of the high flow channel is funneled into the final rapid of Harvie Passage.The main features on this rapid are the first wave Tatonka and the second wave/hole White Buffalo.
This rapid, although packing a punch, often looks bigger from shore than it does in a boat. However, you'll certainly want to be comfortable navigating a big water feel, including boils, waves, holes, and a funky reactionary. The rapid varies a great deal at different water levels.
50-100cms
At these levels Tatonka looks tall and thin, almost like a table saw. You can jet-ferry across the top using this diagonal wave current. Below, White Buffalo is very surgy and has whirlpools periodically going right through either side. This can be a difficult feature to play in at this level. The whirlpools are powerful enough to make rolling difficult.
100-150cms
At these levels, Tatonka is beginning to transform into a wider wave, but is difficult to catch. White Buffalo has more power and can be quite trashy.
150-200cms
This is where Tatonka becomes a beautiful green wave and can be surfed. As the levels rise, it'll become steeper faster and develop a small foam pile on top. White Buffalo will have less whirlpools, however the feature remains surgy and trashy. It will crash without warning and control of your boat will be lost.
200-250cms
Tatonka becomes much larger, allowing play boats to do more dynamic and big moves on this wave. White buffalo is beginning to get more green and waves begin to form behind it. Whirlpools are virtually gone.
250-300cms
Both Tatonka and White Buffalo are huge in their prime at these flows. You'll have to drop into Tatonka to catch it as there is no longer eddy service. This is very easy to do by walking your boat to the eddy above.
White Buffalo greens up and surges way less. It also becomes more flushy. You'll start to notice wave trains behind White Buffalo. They're deep and good for practicing kick flips.
Downstream of Drop 4
So with all this in mind, it is important to note that Drop 4 quickly flushes into a small Class II rapid, and then into a Class I flow shortly thereafter. So if you are with a group of paddlers with appropriate whitewater rescue experience, swims in this rapid, although boily with some potential downtime, are relatively inconsequential.
Drop 4 on the left side of Harvie Passage is big bouncy and fun and does have a big water Class III feel to it. The features vary a great deal based on water levels, so definitely keep that in mind.
This is a basic overview of the left channel of Harvie Passage, an often vilified and misunderstood section of river. It is a great step up for strong intermediate paddlers looking to experience some relatively forgiving bigger water.
If you have any further questions about Harvie Passage, feel free to contact us below or visit us in store.
Related Articles
Beginner Whitewater Kayaking Complete Intro Guide
Whitewater Kayaking: What Is This Exciting Sport All About?
Beginner's Guide to Whitewater Kayak Gear
Whitewater SUP: Everything You Need to Know
![]()
AQ Outdoors Contact
Edmonton: (p) 780 463-4892 (e) info@aquabaticsedmonton.com
Calgary: (p) 403 288-9283 (e) info@aqoutdoors.com